
Click a link below to scroll down!
- Organic Wheat Production: Building Soil Health and Meeting Consumer Demand
- Advantages of Growing Organic Wheat as Grain
- Advantages of Growing Organic Wheat for Grazing
- Advantages of Growing Organic Wheat for Silage
- Wheat Seed Count and Weight
- Planting Rate
- Planting Depth
- 2025-26 Texas A&M Wheat Picks List
- Additional Considerations
- Seed Companies
- Organic Small Grain (wheat, oats, triticale, barley, and rye) Traders
- Other Resources
Organic Wheat Production: Building Soil Health and Meeting Consumer Demand
Organic wheat production is foundational in sustainable agriculture, emphasizing soil health, biodiversity, and reduced environmental impact. Organic wheat is grown without synthetic fertilizers or pesticides, relying instead on crop rotations, cover crops, and organic amendments to enhance soil fertility and structure. These practices not only improve soil health but also support beneficial insects and microorganisms, creating a more resilient farming system. The demand for organic wheat continues to rise as consumers seek healthier, pesticide-free options in their breads, pastas, and baked goods. Growing organic wheat allows farmers to capture premium market prices while contributing to a sustainable food system that prioritizes environmental stewardship and human health.
- Food Use: Wheat is a staple food globally, used primarily in bread, pasta, noodles, and baked goods. It is rich in carbohydrates and provides a source of energy, dietary fiber, and essential nutrients such as iron, B vitamins, and magnesium. The two main types are hard wheat (used for bread) and soft wheat (used for cakes and pastries).
- Animal Feed: Wheat is also used in animal feed, especially for poultry and swine. It is high in energy but lower in protein compared to other grains. It is often used in a balanced diet due to its palatability and digestibility.
Advantages of Growing Organic Wheat as Grain
- High Yield Potential: Wheat has a high yield potential compared to many other cereal grains, making it a reliable crop for grain production.
- Market Demand and Versatility: Wheat is a staple food worldwide, with a strong and stable market demand. It can be processed into a variety of food products such as flour for bread, pasta, and other baked goods.
- Nutritional Value: Wheat provides a rich source of carbohydrates, protein, vitamins (especially B vitamins), and minerals like iron and magnesium. This makes it valuable not only for human consumption but also in feed formulations.
- Crop Rotation Benefits: Wheat fits well into crop rotations, helping to break pest and disease cycles and improve soil health. Its deep roots can improve soil structure and reduce erosion.
- Climate Adaptability: Wheat can be grown in a wide range of climates, from temperate to semi-arid regions, with varieties adapted to specific growing conditions such as winter wheat and spring wheat.
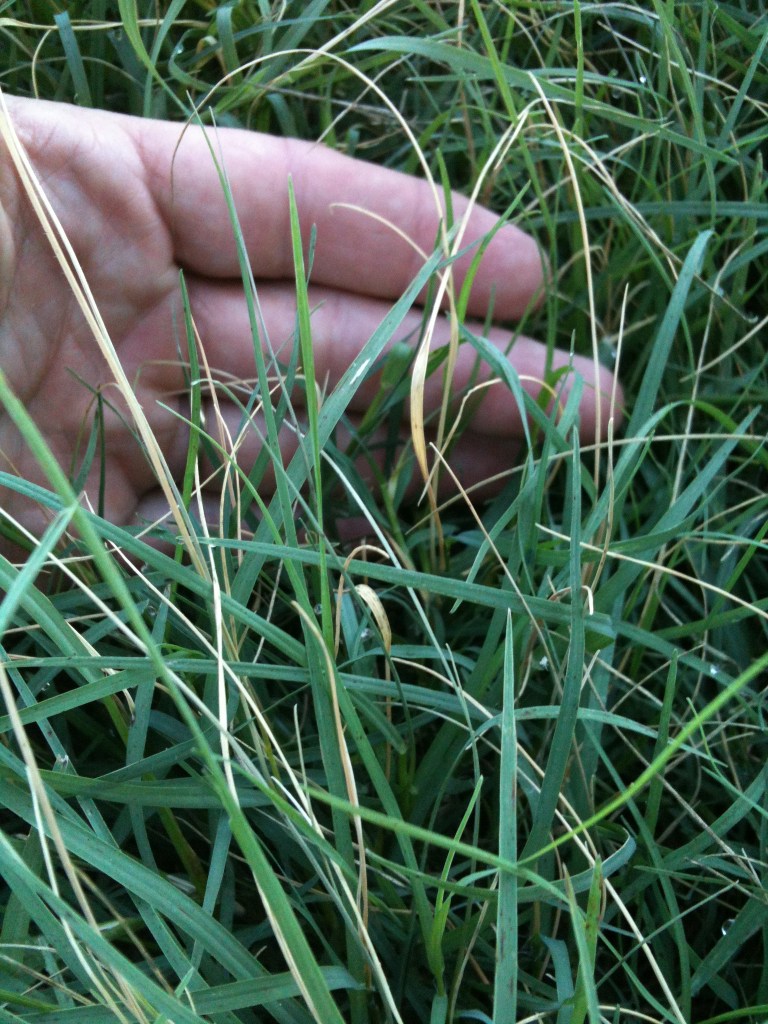
Advantages of Growing Organic Wheat for Grazing
- Dual-Purpose Use: Wheat can be grown as a dual-purpose crop, providing both grazing for organic livestock production and grain harvest later in the season. This flexibility allows farmers to optimize the use of their land based on market conditions and livestock needs. If utilized for dual-purpose then cattle must be removed prior to jointing to ensure that the grain head is not damaged due to grazing.
- Nutritional Forage: Wheat offers high-quality forage that is rich in protein and energy, making it an excellent choice for grazing livestock, especially in the early growing stages when the foliage is tender and nutritious. Texas has many acres of “stocker cattle” grazing wheat every year in winter months.
- Extended Grazing Season: Planting winter wheat extends the grazing season into the cooler months, providing forage when other pasture options are limited.
- Soil Protection and Improvement: Grazing wheat helps cover the soil, reducing erosion and improving soil organic matter through trampling and residue decomposition.
Advantages of Growing Organic Wheat for Silage
- High Nutritional Value: Wheat silage provides a good balance of energy, fiber, and protein, making it suitable for feeding dairy cattle, beef cattle, and other ruminants. It supports milk production and growth rates when included in the diet.
- Early Harvest Option: Harvesting wheat for silage allows for an earlier harvest, freeing up the field for planting a subsequent crop or cover crop. This can be particularly advantageous in double-cropping systems.
- Disease Management: Silage production can help manage diseases like rust or head scab that might affect wheat if grown to full maturity for grain.
- Flexibility in Use: Wheat silage can be used during periods of feed shortage or when forage quality from other sources is low, providing flexibility in feeding strategies.
- Drought Tolerance: While wheat does require moisture, it is relatively drought-tolerant compared to some other silage crops. This makes it a viable option in areas where water availability might limit other forage options.
Wheat Seed Count and Weight
- Seeds per Pound: The number of wheat seeds in a pound can vary depending on the variety and seed size, but typically ranges from 12,000 to 18,000 seeds per pound. A common average is around 15,000 seeds per pound.
Planting Rate
- Typical Planting Rate: The standard seeding rate for wheat is around 60 pounds per acre, which equates to approximately 900,000 seeds per acre, based on the average seed count.
- Range of Planting Rates: The actual seeding rate can vary based on factors like seed size, soil fertility, moisture availability, planting date, and the purpose of the crop (e.g., grain, forage, or dual-purpose). Common ranges are:
- Dryland Production: 45 to 60 pounds per acre.
- Irrigated or High-Rainfall Areas: 60 to 90 pounds per acre.
- In some high-input systems or late planting situations, rates can go up to 100 pounds per acre or more.
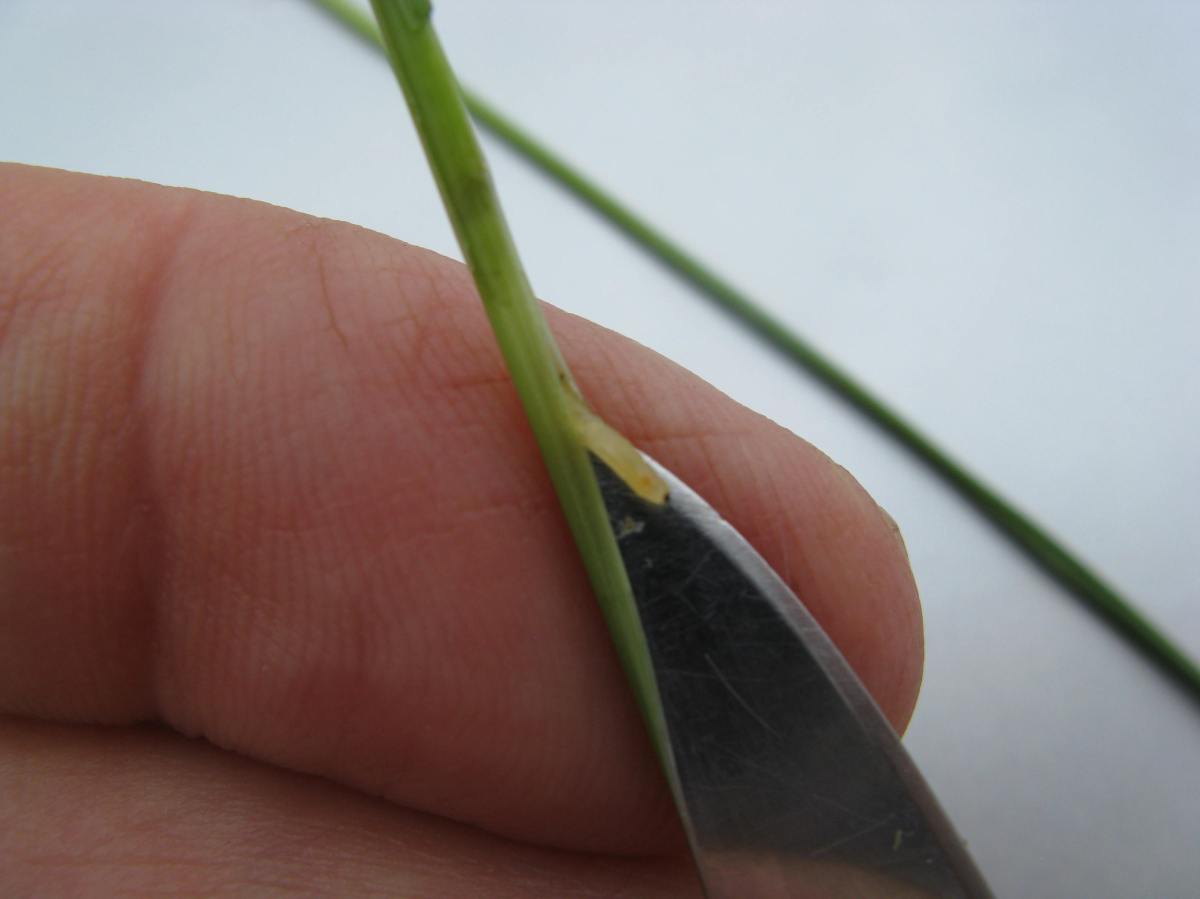
Planting Depth
- Optimal Depth: Wheat should be planted at a depth of 1 to 2 inches. The ideal depth depends on soil moisture:
- 1 inch deep is typical in well-moisturized soils.
- 2 inches or slightly deeper may be necessary in drier conditions to reach moisture.
- Depth Considerations: Planting too shallow (less than 1 inch) can lead to poor root development and exposure to environmental stresses. Planting too deep (greater than 2.5 inches) can delay emergence and reduce stand establishment, especially in heavy or compacted soils.
2025-26 Texas A&M Wheat Picks List
Texas A&M AgriLife Extension, in collaboration with our wheat breeding program colleagues in Texas A&M AgriLife Research, highlights these wheat varieties to producers. Wheat Picks are based on a minimum of three years of data (and at least two years for a ‘Watch List’ designation) over multiple regional locations. These wheat varieties are not strictly a list of recommended wheat grain varieties. But given the data, these are varieties we would choose to include on our farm. If you are plan ng other varieties, and you like them, continue to plant them. But consider trying one of these regional varieties on some of your acres, especially a variety that complements your other wheat variety’s maturity and insect/disease resistances. Just click the button!
Additional Considerations
- Soil Temperature: Wheat germinates best in soil temperatures between 54°F and 77°F (12°C to 25°C). Planting in cooler or warmer conditions may affect germination rates and initial growth.
- Row Spacing: Common row spacing for wheat is 6 to 8 inches. Narrower rows can help with weed suppression and optimize light interception.
Seed Companies
Organic farmers are required to purchase organic seed when it is available, but for many crops, organic seed options are limited or unavailable. Many seed companies offer both organic and non-organic seed, and it’s essential for farmers to understand that non-organic seed can be used on certified organic farms as long as it is non-GMO and untreated. Farmers should always verify seed sourcing requirements with their organic certifier to ensure compliance while balancing the need for high-quality planting seed.
Warner Seeds, Inc.
- Cheb Krueger
- P.O. Box 1877120
- South Lawton Ave
- Hereford, Texas 79045
- TollFree: 1-866-927-6371
- Office: 806-364-4470, ext. 111
- Cell: 806-683-2067
- Email: ckrueger@warnerseeds.com
- Website: www.warnerseeds.com
Justin Seed Co.
- Tracy Tally
- 524 South Hwy 156
- Justin, TX 76247
- 940-648-2751
- Website: www.JustinSeed.com
Turner Seed Company
- 211 County Road 151
- Breckenridge, TX 76424-8165
- 800-722-8616
- Website: www.TurnerSeed.com
- J. Mercer – Sales
- j@turnerseed.com
- Jesse Speer – Sales
- jesse@turnerseed.com
- Blair Vick – Sales
- blair@turnerseed.com
- Luke Turner – Sales
- luke@turnerseed.com
- Darcy Turner – Agronomist
- darcy@turnerseed.com
Albert Lea Seeds (Organic Varieties)
- 1414 West Main Street
Albert Lea, MN 56007 - 1 (800) 352-5247
- seedhouse@alseed.com
- https://alseed.com/
AgriPro
Croplan
Dynagro Seed
Limagrain Cereal Seeds
- Dan Dall
- Regional Commercial Manager, Central Plains
- 316-452-3505
- Daniel.Dall@limagrain.com
- https://limagraincerealseeds.com/central-plains/
Trical Superior Forage
- 701 Dewey Blvd #4248
- Butte, MT 59701
- 406-498-0790
- Drew Morano
- Central US Senior Commercial Lead
- 970-214-3642
- dmorano@tricalforage.com
Westbred (Bayer)
- Drew Hendricker
- Senior Technical Product Manager
- drew.hendricker@bayer.com
- 970-657-5377
- Lance Embree
- Regional Commercial Manager
- lance.embree@bayer.com
- 316-218-2661
Organic Small Grain (wheat, oats, triticale, barley, and rye) Traders
Here is a list of potential organic commodity buyers (based on organic certification) who have historically engaged in the organic grain market. While these companies have shown interest in organic commodities, it’s important to note that their purchasing activities can vary based on market conditions, demand, and availability. I encourage you to contact them directly to inquire about their current buying needs and contract opportunities, as their purchasing intentions may change over time.
Barton Springs Mill, Inc.
- James A. Brown
- 16604 Fitzhugh Rd., Unit B
- Dripping Springs, Texas 78620
- 512-554-5981
- james@bartonspringsmill.com
- https://bartonspringsmill.com/
Pink Rose Organix
- John Conboy
- 180 Railroad Ave
- Slaton, TX 79364
- 916-941-9288
- 209-275-3002
- john@americanriverag.com
- https://www.pinkroseorganix.com/
Caprock Enterprises LLC
- Beau Brown
- 1301 E 5th
- Plainview, Texas 79072
- PO Box 53538, Lubbock, Texas 79453
- 806-798-8900
- beau@lonestarcom.org
Commodity Brokerage Services LLC
- Blake Stringer
- 149 South Shore
- Amarillo, Texas 79118
- (806) 676-4888
- cbsllc2019@gmail.com
Coyote Creek Organic Feed Mill & Farm
- Jenny Myers
- 13817 Klaus Lane
- Elgin, Texas 78621
- 512-285-2556
- jenny@coyotecreekfarm.com
- https://www.coyotecreekfarm.com/
Deaf Smith County Grain
- Dan Bornemeier
- PO Box 1729
- Dalhart, Texas 79022
- 806-384-3377
- d.bornemeier@cottonwoodcattle.com
Enger Farms, LLC
- Jerod Crawford
- 3056 County Rd 902
- Joshua, Texas 76058
- (817) 790-2368
- engerfarms@gmail.com
Lone Star Commodities, Ltd.
- Beau Brown
- PO Box 53538
- Lubbock, Texas 79453
- 806-798-8900
- beau@lonestarcom.org
McDowell Feed Source
- Linda McDowell
- 508 S ELM ST
- Hico, Texas 76457
- 707-695-7805
- mcdowellfeedsource@gmail.com
Muleshoe Specialty Grain, LLC
- Jimmy Black
- 810 FM 3269
- Muleshoe 79347
- 806-965-2447
- boehninggroup@gmail.com
New Deal Grain Inc
- Seth Fortenberry
- Peter Poff
- 501 East Main Street
- New Deal, Texas 79350
- P O Box 265
- New Deal, Texas 79350
- 806-784-2750
- peter@newdealgraininc.com
- https://newdealgraininc.com/
TIERRA MANNA TRADING
- Michael Ethan Black
- PO Box 51991
- Amarillo, Texas 79159
- (806) 471-7826
- mebtrading.organics@gmail.com
Triple Nickel, Inc.
- Kayla Nickels
- 808 W 19th St
- Muleshoe, Texas 79347
- Triple Nickel East
- 413 East American Blvd.
- Muleshoe, TX 79347
- (806) 272-7500
- Triple Nickel West
- 1680 CR 1044
- Muleshoe, Texas 79347
- (806) 272-5589
- kayla@cknickels.com
- https://cknickels.com/
Other Resources
- Organic Oat Resources
- Organic Rye Resources
- Organic Triticale Resources
- Organic Barley Resources
- 2025 Small Grain Forage Tests
- Weed Control Performance of Different Sowing Methods in Organic Wheat
- Can Cover Crops Control Weeds and Save Water Too
- Article: Get the most from small grain silages
- What is the True Cost of Compost (or manure) in 2024?
- Organic Materials/Products Lists
- Organic Weed Control
- Best Cover Crops for Weed Control and Fertility
- Soil Testing, soil results, soil test labs
- Organic fertilizer – what is it, what are the rules, where do you buy it?
- Allelopathy – What is it, what has it, and how do we use it?
- Organic Seed May Soon Be Required